Papercups.io
Papercups is an opensource self-hosted chat window that you can add to your site to interact with your visitors instantly. Papercups gives you the ability to reply directly from Slack or using their built-in messenger.
Papercups gives you the freedom to customise your chat windows to fit your branding, show whether you have representatives online to help your customers. A feature-rich dashboard with all the analytics data you’ll need. Papercups even has screen sharing built-in, for when it’s just easier to show something that isn’t working. It’s super easy to install, as you’ll see in just a minute.
Installing Papercups
Prerequisites: Provisioning your server
You’ll need to either purchase something like a Raspberry Pi with Ubuntu Server installed or use an existing server at your disposal.
I use a Proxmox instance running on a server in my loft.
You could also use something like Digital Ocean to run your Docker server, Using the following link will give you $100 worth of credits for 60 days to play around with, just sign up using this link.
If you are using Digital Ocean, be sure to follow our tutorials on locking down your exposed ports with UFW and setting up a Wireguard VPN to ensure that your Digital Ocean endpoints are protected.
Step 1: Updating your server to the latest version
All of the following instructions are based on the Debian distro, so if you’re running a server with Ubuntu, these instructions will be perfect for you. If not, you may have to adjust the commands below to suit your distro.
The first step is to just make sure our server is up to date. Run the following commands to pull down the latest updates from our distro repositories.
sudo apt-get update && sudo apt-get upgrade
You should see an output like the following
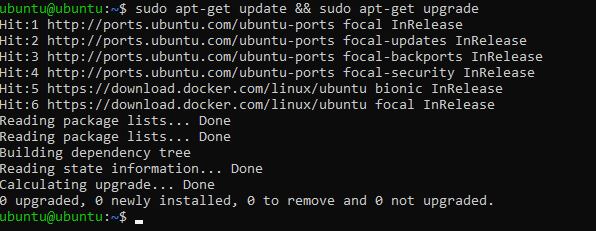 Console output for running the update and upgrade commands
Step 2: Installing Docker on your server
We need to install Docker. To install Docker on your instance, you need to run the following command.
The following script is a convenience script provided by the Docker team. It’s highly recommended to always check what you’re going to execute, before executing it.
curl -fsSL https://get.docker.com -o get-docker.sh
sudo sh get-docker.sh
Installing Docker using the convenience script
Once you have executed the Docker install script. You should see an output like the following.
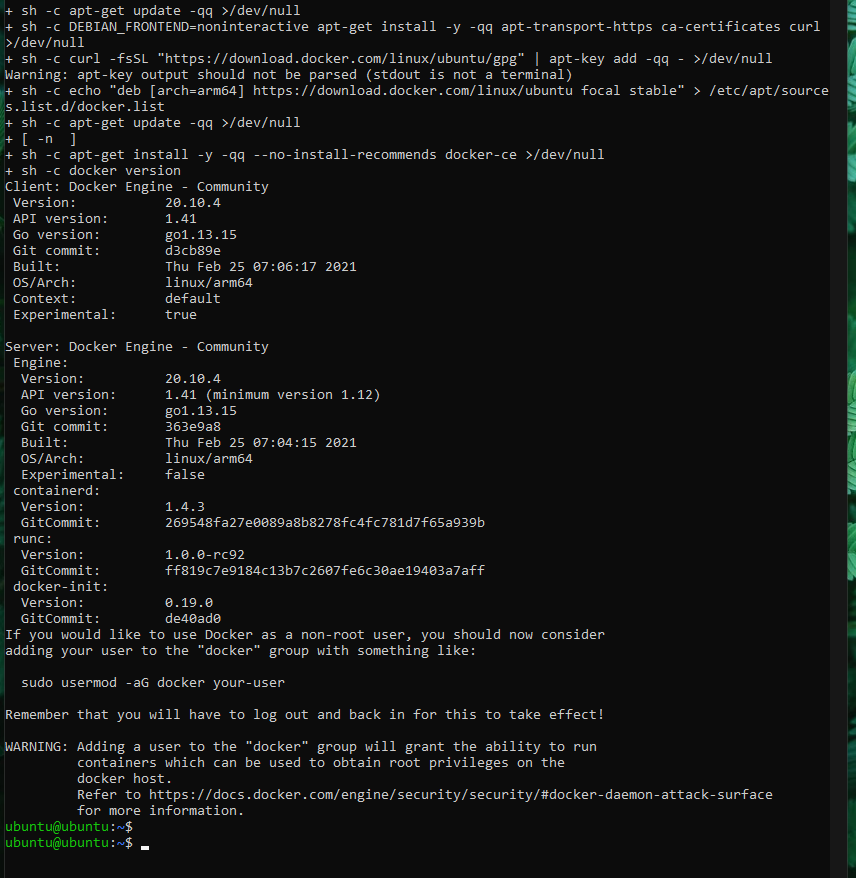 Docker convenience script install output
As you can see in the output, the command was executed successfully. You may also notice that there is a console message specifying how to use Docker as a non-root user.
Docker convenience script install output
As you can see in the output, the command was executed successfully. You may also notice that there is a console message specifying how to use Docker as a non-root user.
This means that whenever you are executing the Docker command, you’ll no longer need to type in your sudo password.
If this sounds good to you, you can simply run the provided command, substituting your-user for your server user. In my case, my user is ubuntu. My command would look like this.
sudo usermod -aG docker ubuntu
Adding your user to the Docker group We also need to install Docker Compose. This can be done by running the following commands.
sudo curl -L "https://github.com/docker/compose/releases/download/1.28.5/docker-compose-$(uname -s)-$(uname -m)" -o /usr/local/bin/docker-compose
sudo chmod +x /usr/local/bin/docker-compose
Step 3: Installing Papercups
To get Papercups running, we just need to create a docker-compose.yml file on our server. To keep things tidy, I like to put them into a folder. I’m going to create a folder named papercups
cd
mkdir papercups
Now, just cd into the folder, you have just created.
cd papercups
Now, we just need to create the docker-compose.yml file. We can do this by running the following command.
nano docker-compose.yml
Once we’re in the nano context, we can paste in the following code.
version: "3.2"

services:
  papercups:
    image: papercups/papercups:latest
    ports:
      - "3000:3000"
      - "4000:4000"
    command: sh -c "sleep 10 && /entrypoint.sh db createdb && /entrypoint.sh db migrate && echo 'running' && /entrypoint.sh run"
    depends_on:
      - db
    environment:
      DATABASE_URL: "ecto://postgres:postgres@db/postgres"
      # PUT YOUR OWN SECRET KEYBASE HERE
      SECRET_KEY_BASE: 'dvPPvOjpgX2Wk8Y3ONrqWsgM9ZtU4sSrs4l/5CFD1sLm4H+CjLU+EidjNGuSz7bz'
      BACKEND_URL: "localhost"
      MIX_ENV: "prod"
  db:
    image: postgres:alpine
    container_name: papercups
    ports:
      - "5432:5432"
    environment:
      POSTGRES_PASSWORD: postgres
Make sure to change your SECRET_KEY_BASE. You can generate your own key by running the following command.
openssl rand -hex 64
Once you have updated your SECRET_KEY_BASE save and exit your docker-compose.yml file.
We can now start up Papercups!
To do this, we just need to run the following command.
docker-compose up -d
Give it a few seconds to boot up, then you can take a look at http://localhost:4000
Step 4: Installing and configuring Nginx
Nginx is a reverse proxy that allows us to point a domain name to our Papercups service. By default, Papercups will be running on port 4000. In theory, you could skip this step and access Papercups using your server’s IP address and port 4000.
We’re going to use Nginx so that we can use a domain name instead.
First, we need to install Nginx.
sudo apt-get install nginx
Once installed, we need to configure a new site. This is essentially a config file that will allow routing on a certain domain name to our Papercups service.
Usually, I name my sites by their URL. To create a new site, run the following command, substituting my URL with yours.
sudo nano /etc/nginx/sites-available/papercups.theselfhostingblog.com
This will open up a new window that allows us to add our Nginx configuration. Now, you’re about to paste in a lot of text, but don’t worry, I’ll walk you through what we need to change.
Paste in the following code.
upstream papercups {
   server localhost:4000;
}

server {
   listen 80 default_server;

   server_name papercups.theselfhostingblog.com; #Change Me

   location / {
       proxy_pass http://papercups;
   }
}
Most of this is configured for you and doesn’t need to be changed. Only the URL which Nginx wants to use. You’ll see that mine is papercups.theselfhostingblog.com make sure that you change this to your URL. Also, don’t forget the ; at the end of the line. It’ll save you a lot of headaches 😉
We now need to hit Ctrl + x ,y and return to save and exit out of nano.
Now, we just need to register our new site with Nginx, you can do this by running the following command. Again substituting my domain with yours.
sudo ln -s /etc/nginx/sites-available/papercups.theselfhostingblog.com /etc/nginx/sites-enabled/papercups.theselfhostingblog.com
We just need to remove the default Nginx configuration to prevent a port clash.
sudo rm /etc/nginx/sites-available/default
sudo rm /etc/nginx/sites-enabled/default
Now, we can test the Nginx configuration. Run the following command.
sudo nginx -t
Which should give us a successful output.
 Sweet. Let’s restart the Nginx service.
sudo systemctl restart nginx
Step 5: Port-forwarding
If you’re self-hosting this on your own hardware, you will need to port forward your instance to allow public access to your instance. This will involve googling how to port forward from your router.
You’ll need to point port 80 and 443 to your instance where Nginx is set up.
If you’re hosting Papercups in Digital Ocean, you may need to configure UFW.
I have a tutorial for setting up UFW here
sudo ufw app list

Output
---

Available applications:
  Nginx Full
  Nginx HTTP
  Nginx HTTPS
  OpenSSH
As you can see, there are three profiles available for Nginx:
- Nginx Full: This profile opens both port 80 (normal, unencrypted web traffic) and port 443 (TLS/SSL encrypted traffic)
- Nginx HTTP: This profile opens only port 80 (normal, unencrypted web traffic)
- Nginx HTTPS: This profile opens only port 443 (TLS/SSL encrypted traffic)
It is recommended that you enable the most restrictive profile that will still allow the traffic you’ve configured. Since we will be configuring SSL for our server we will need to temporarily allow port 80 and 443 for Certbot to verify our domain endpoint.
You can enable this by typing:
sudo ufw allow 'Nginx Full'
Step 6: Configuring Certbot
Certbot allows us to generate SSL certificates for free with Let’s Encrypt. It’s simple to install and use. Even hooks in with Nginx, meaning that there’s no more manual configuration required.
To install Certbot, simply run the following commands
sudo apt-get install certbot python3-certbot-nginx
Then, to set up your SSL certificate, run. Make sure that you have your domain name pointing to your IP address. This will require some DNS configuration. You’ll need an A Record.
sudo certbot --nginx
Follow the instructions, select your domain name from the Nginx list.
Also, select redirect as this will upgrade any HTTP requests to HTTPS.
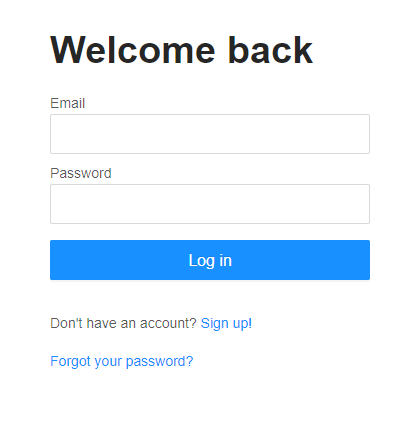
Once done, if you navigate to your domain, you should see the following page.
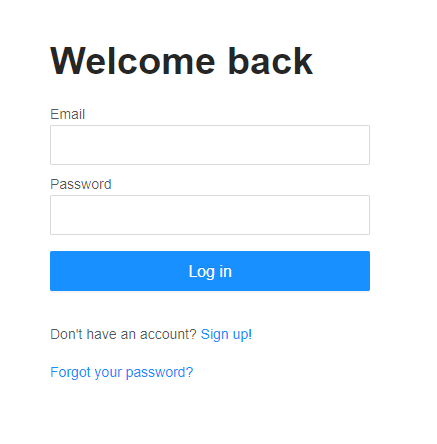 You should also notice that the SSL certificate is causing your domain to be HTTPS!
That’s all
To recap, we have…
- Spun up a new server running Ubuntu
- Installed Papercups onto our server with Docker Compose
- Installed an SSL Certificate for HTTPS
- Configured a reverse proxy to point our domain to our running Papercups service
That’s pretty good going!
Let me know in the comments if you get stuck along the way, I’ll do everything I can to help you out. Hope this post helped you! This post contains affiliate links, meaning we may receive a small commission on purchases made through links in this post. At no extra cost to you 😊
We hate Ads! They don’t respect your privacy.
Would you consider supporting us on buy me a coffee? Your support really helps to keep the costs down with running the blog